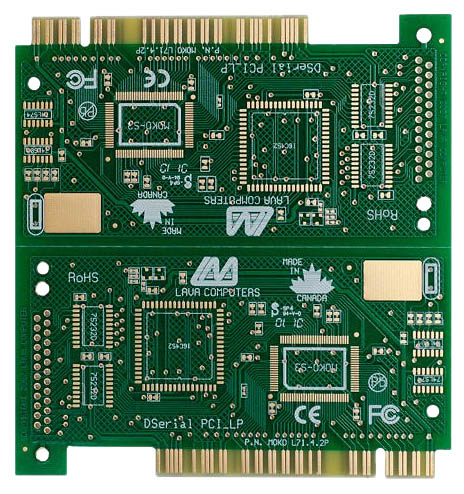
1. PCB Panel With 2 Boards
The process of soldering a printed circuit board (PCB) starts, not surprisingly, with the board itself. Here at LAVA we design our boards’ electronics and layout on computer, then send the resulting design file to a PCB fabricator. What we get back are flat printed circuit boards, without any components.
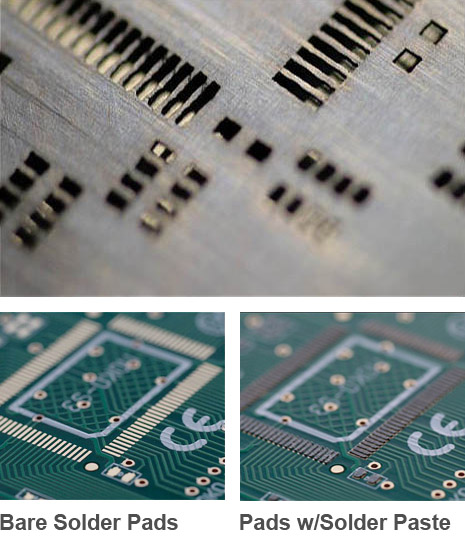
2. Openings in a Solder Screen
Matching the design of these boards is a solder screen, a thin metal plate with small, sometimes tiny, openings in it that correspond to the spots on the board where a component’s electrical contacts need to be soldered.
The process is simple: the PCB to be produced is placed in a pasting machine, and the solder screen is aligned on top of it, covering the entire board but leaving open the spots that will receive solder (the solder pads).
A solder paste, basically a mixture of powdered solder and flux with the consistency of toothpaste, is wiped across the solder screen, and where there are openings in the screen a small amount of solder paste is pressed through onto the solder pads. Once this is done, all the locations that are intended for solder are now supplied with a tiny dab of solder paste.
This process is analogous to silkscreening, but with the PCB as the substrate instead of cloth or paper, and with solder paste as the printing medium instead of ink or dye.
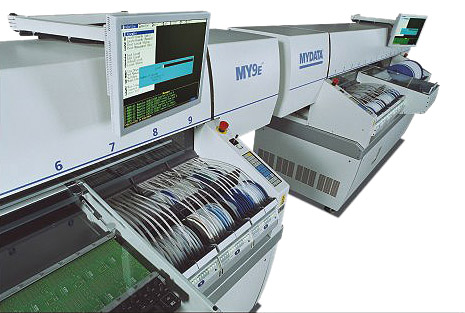
3. SMT Machines
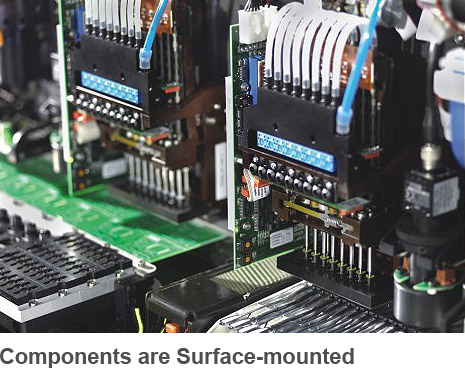
The boards, now with solder paste on their pads, move on to a “pick and place” / SMT (“Surface-Mount Technology”) machine, where the individual surface-mounted components (resistors, capacitors, and integrated circuits, for the most part) are placed onto the spots where the solder paste has been laid down. LAVA has two MYDATA machines for this purpose. These machines are loaded with reels, plastic channels, or trays holding the components required for the product being built. These SMT machines also have software that is programmed to identify the necessary components and to convey them to their designated locations and place them on the board.
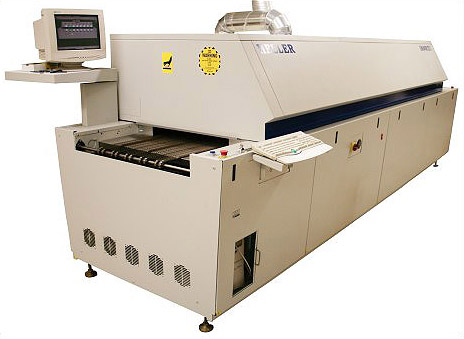
4. Final Stage: Soldering Oven
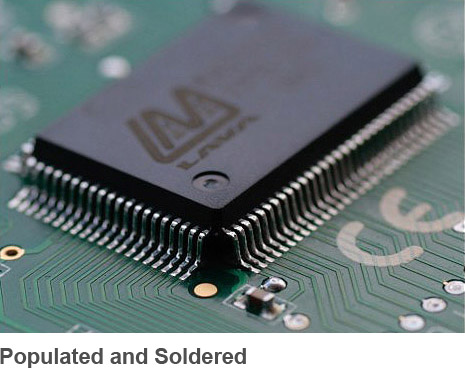
After the components have been surface-mounted, the soldering process resumes in a large oven, where the boards, with components now sitting on solder paste, travel on a conveyor that passes them through the oven at a precise s peed and set of temperatures. On the way through the oven the boards receive heat at differing temperatures at different stages. This process ensures that the solder paste melts into solder properly and that the assembly has the appropriate rate of cooling to form the best solder join possible.
Coming out of the oven, the boards are now ready to receive through-mounted components such as connectors, pin headers, large capacitors, and crystals before they head off for wave soldering.
That’s it!